Team skills
The MULTIMAP team has the experimental resources to characterise materials and structures, and their integrity over a wide range of forces, speeds and temperatures. The use of two- and three-dimensional field measurements enables local phenomena to be observed, at the scale of discontinuities or microstructure in a non-intrusive manner. Working in a controlled environment makes it possible to study complex couplings.
Experimental resources
Machines and sensors
The mechanical stress machines available to the team are :
- Several single-axis electromechanical or hydraulic machines with capacities ranging from 1 kN to 250 kN
- A 1000T hydraulic press
- Hopkinson bars for loads of up to 10m/s (a wide range of assemblies can be used to adapt the type of load tension, compression, shear, perforation, ball projection, dynamic cracking, etc.). dynamic cracking, etc)
We also have equipment dedicated to multiaxial testing :
- A horizontal biaxial traction machine (each axis develops 2.5kN over 200mm)
- A traction machine - internal pressure
- A torsion bench
Force transducers from 10N to 10kN and displacement transducers from +/- 1mm to 25mm. Optical techniques are used to measure finer displacements.
The team also develops dedicated fixtures for specific applications: composite shaping, hot internal tension-pressure on tubular specimens, swelling testing of biological capsules, etc.
Taking images and measuring fields
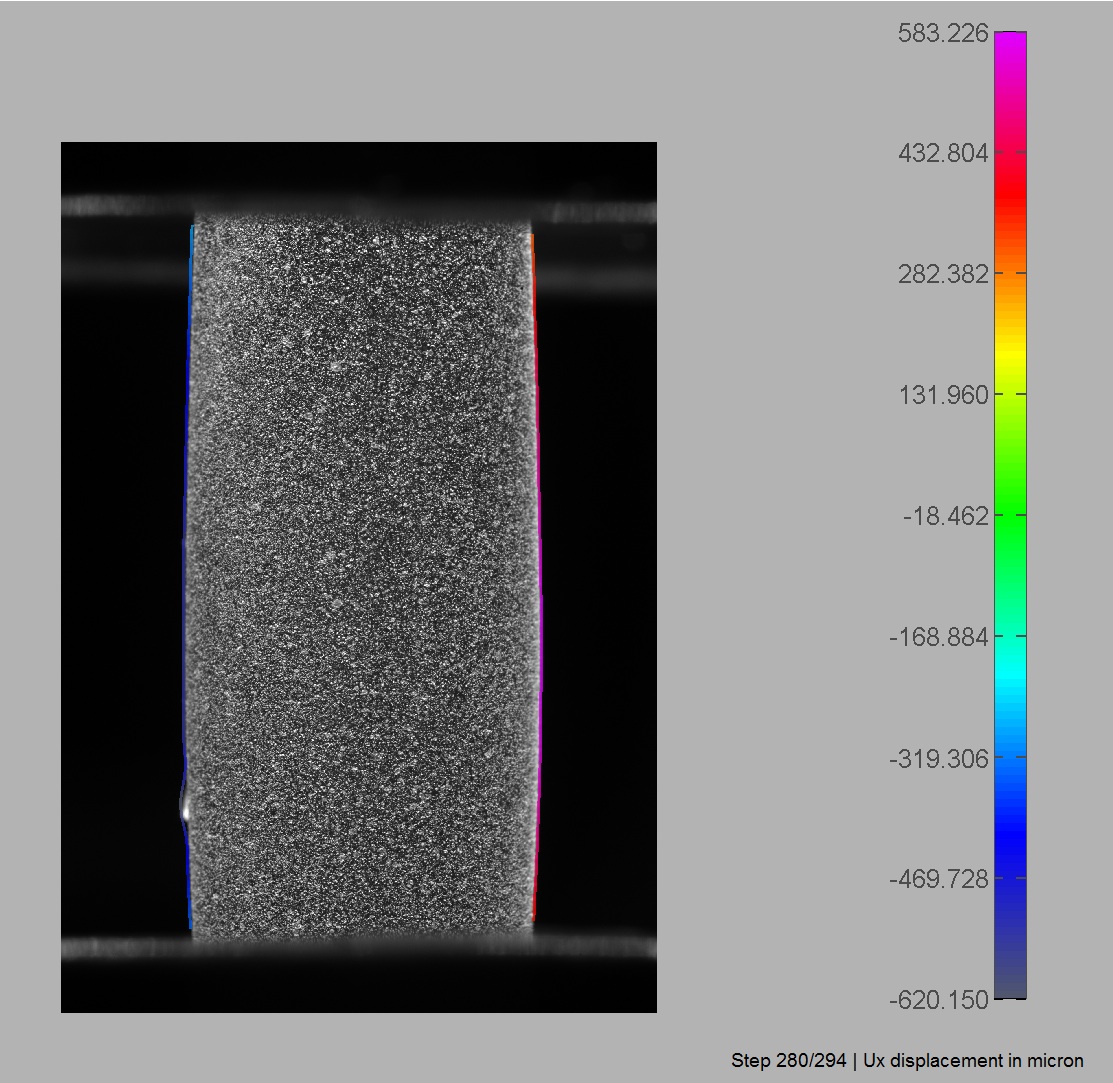
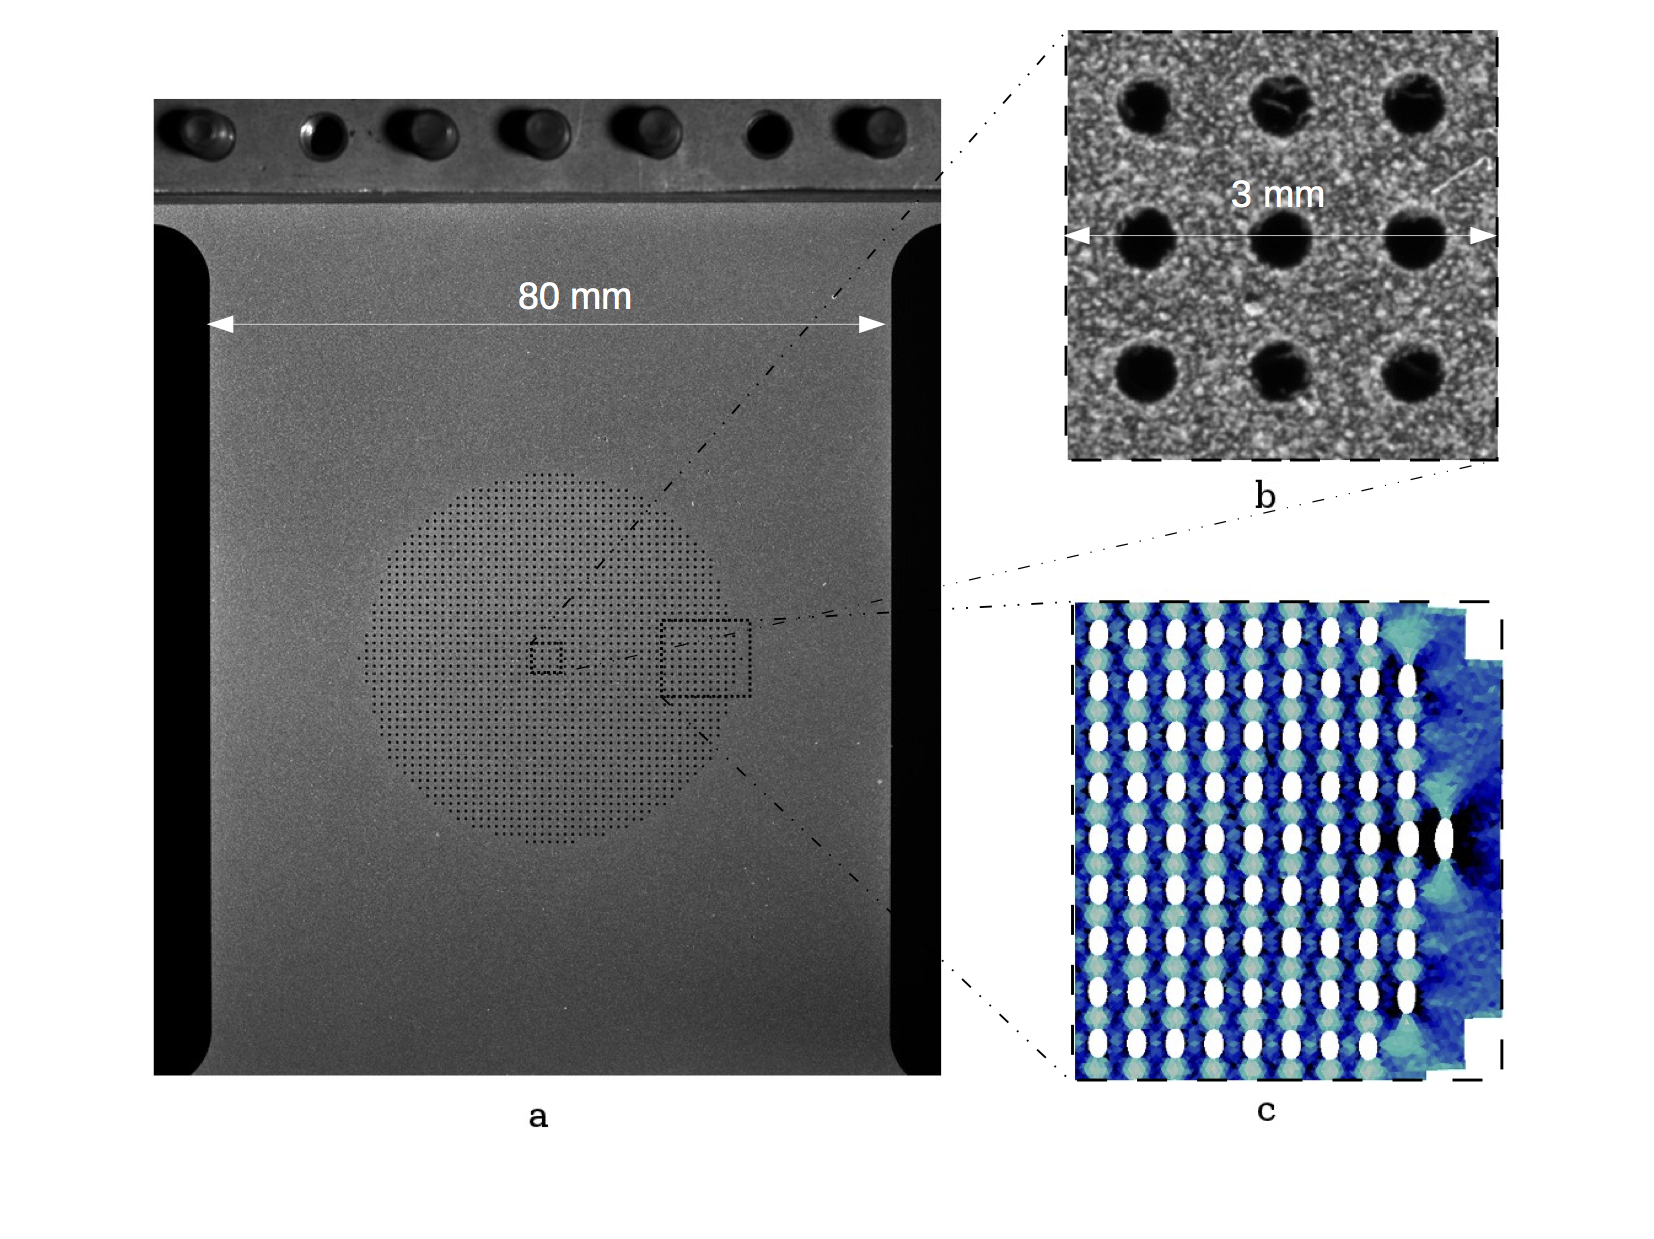
The mechanical tests carried out are almost always combined with image analysis techniques (field measurement by image correlation, contour detection, crack detection, etc.). (field measurement by image correlation, contour detection, crack detection, etc.). The team has a wide range of cameras and lenses, some of which are available in several versions, so as to a wide range of applications (working scales from millimetres to metres).
Cameras :
- Two 2MP Bluefox cameras
- Four 4MP Limess cameras
- Two Allied Vision 16 MP cameras
- A 5 MP Stingray camera
- Two Viework VN-29MC ultra-high-resolution cameras (29 to 260 MP)
For high-speed applications, the following are also available :
- A Phantom V710 high-speed camera (7.5 kHz) acquired jointly with the TMI team
- A Phantom Miro Ex4 high-speed camera (7.5 kHz) (shared resource
Lenses :
- lassic lenses: 1x55mm, 2x60mm, 2x300mm, 3x200mm, 4x28mm, 5x50mm, 6x16mm
- Telecentric lenses: two Vision&Control 200 mm (sensor 15.2mm x 15.2 mm), one Vision&Control 49.5 mm (sensor 12.8mm x 9.6mm)
Filters :
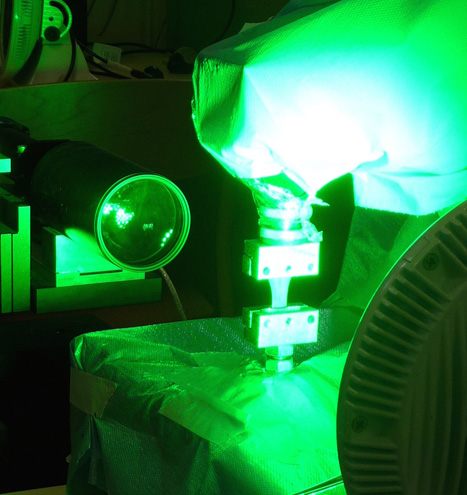
- Depending on the application, a wide range of optical filters and mirrors can be used to eliminate or isolate visible or infrared wavelengths.
Lighting :
- white light LED plan
- RGB LED plan
- Octopus (focusable fiber-optic lighting)
- Wavelength-restricted illumination (LED ring around blue)
- Powerful lighting for rapid imaging
- Halogen spotlights and diffusers
To make the most of these resources, the team has access to ad hoc calibration equipment such as black bodies and test patterns.
In the very near future, a micro-stereo-correlation device will also enable millimeter-scale 3D surface field measurements.
A Speckle Dantech interferometer is also available.
Analysis software :
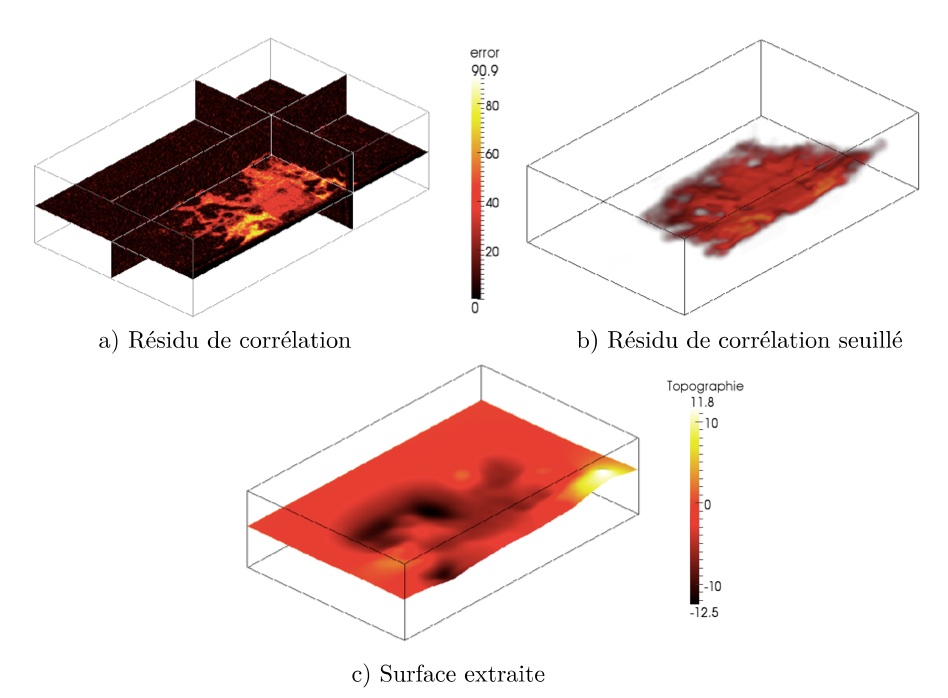
To calculate 2D and 3D surface deformation fields from the acquired images, we use commercial software (Vic2D, Vic3D) and we develop our own software :
- Icasoft (by F.Morestin)
- UFreckles (by J. Réthoré)
Machine and camera synchronization is achieved by routines developed for the most part in LabView by P. Chaudet.
High and low temperature loads
Several devices are available for studying materials and structures at high and low temperatures :
Enclosures :
- Cryostat at -163°C suitable for Zwick 100 kN machine
- Ovens (600°C and 1600°C)
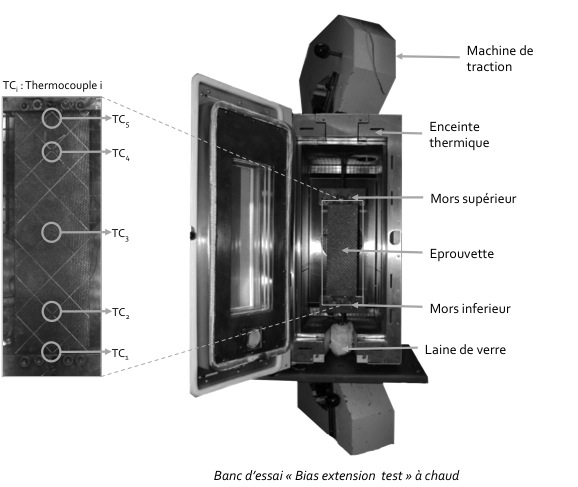
- Controlled-atmosphere (inert-gas) traction enclosure with portholes (for use with Schenck 100kN)
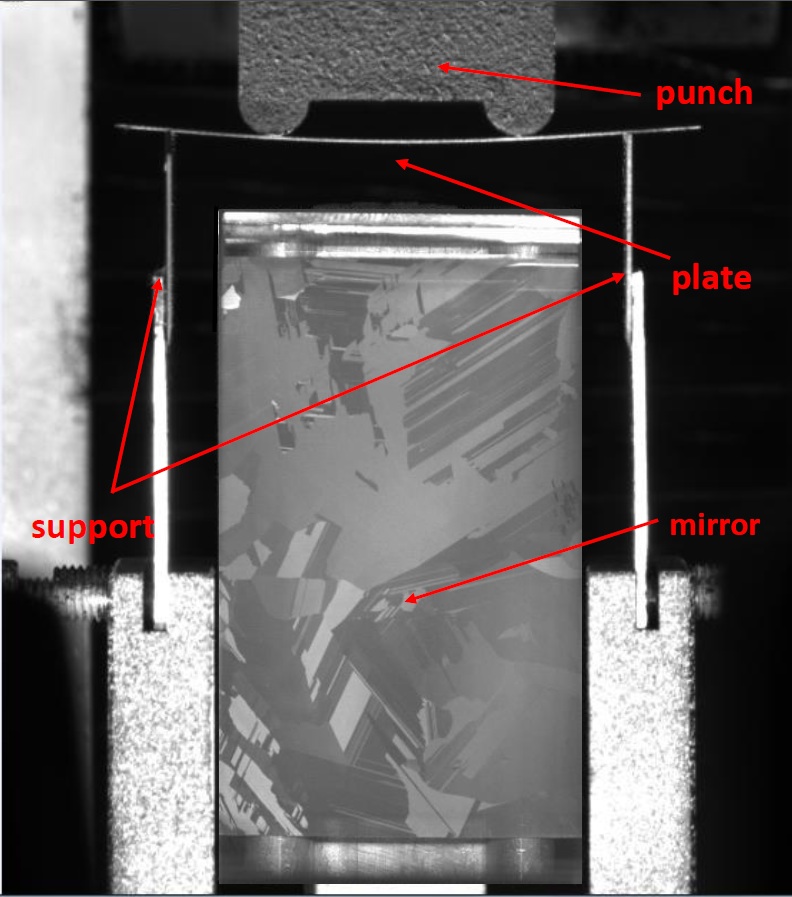
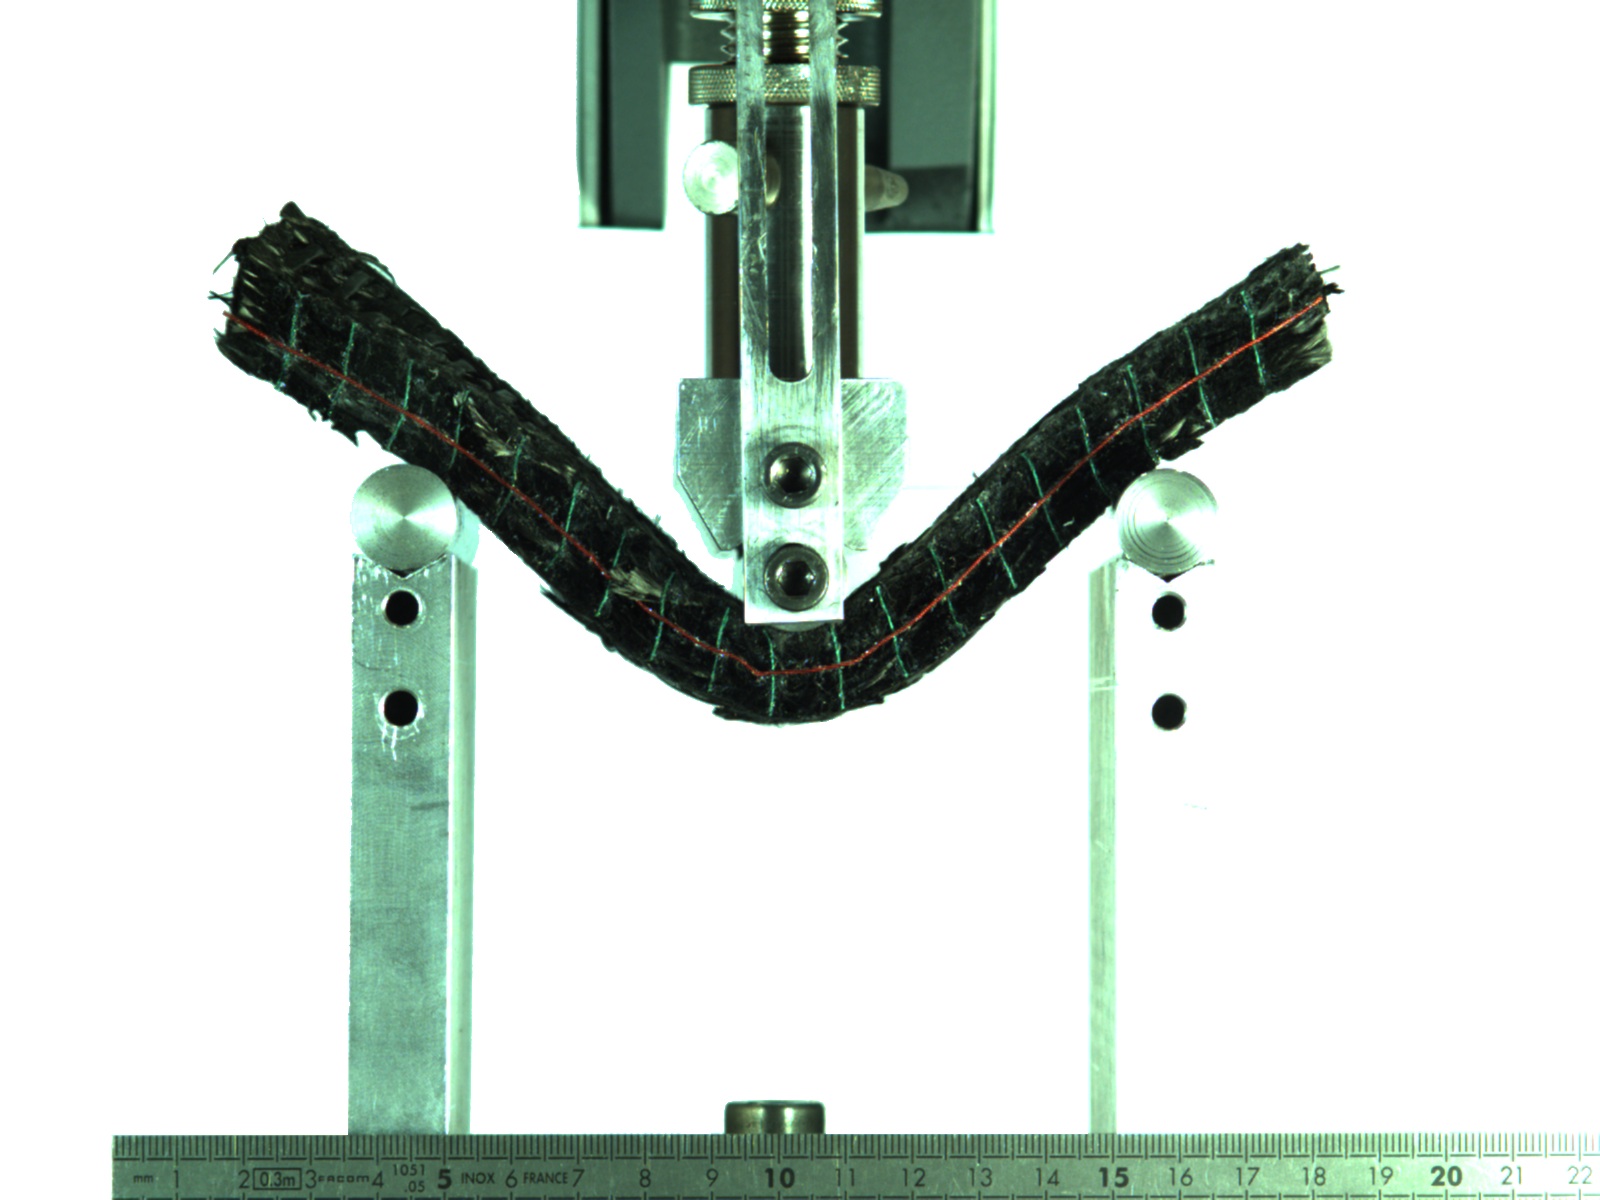
- High-temperature furnace (200-1400°C) for bending tests (3 and 4-point alumina fixtures for use on Lloyd Ametek 1kN electromechanical systems)
Heating systems :
- Gleeble 3500 (100 kN, heating at 10000°C/s)
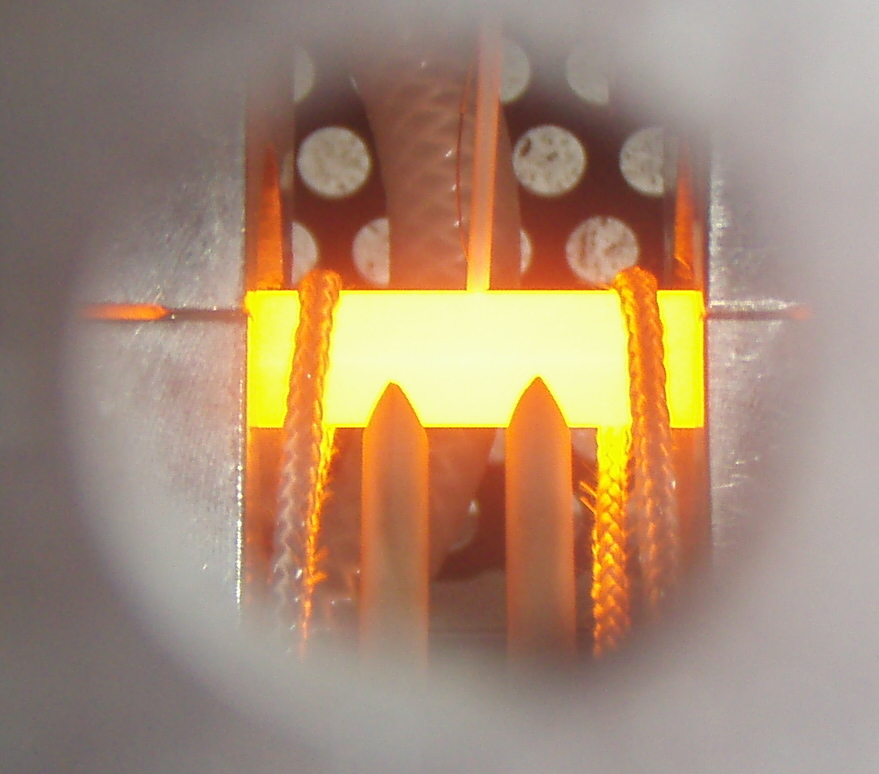
- Inductors and heating collars (above 10°C/s)
Associated measuring equipment :
- Titanium 520 infrared camera (-20 to +2000 °C) (shared resource managed by Cremgec)
- 10kN load cell withstands temperatures up to 600°C
- Alumina contact extensometer
